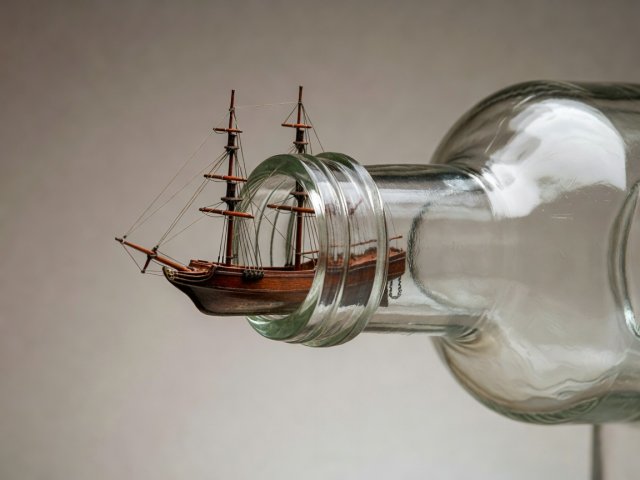
A short history in glass
Ships in bottles became popular once clear, cheap bottles were common in the nineteenth century, and sailors on long voyages had the scraps of wood, thread and patience the craft needs. One of the oldest surviving examples, often dated to 1784, is held at a museum in Lübeck, Germany. Today the craft is kept alive by groups such as the Ships-in-Bottles Association of America and the European Association of Ships in Bottles, whose members build everything from tiny lightbulb dioramas to full harbour scenes.
The trick itself
Most bottle ships are not built inside the bottle. They are built outside, almost completely, with masts that pivot at deck level. Each mast is fitted with a small hinge: a fine wire pin through the mast foot, or a drilled hole with a thread passing through the deck. The forestays, the lines that run from the masts forward to the bowsprit, are left long. They pass through tiny holes in the bowsprit and trail out ahead of the ship.
When the masts are folded back flat along the hull, the yards swing fore-and-aft and the sails roll gently around them. The whole ship becomes a slim package that slides through the neck. Once the hull is seated on the sea, you pull the trailing forestays. The masts rise together, the sails open, and the ship stands up inside the glass. A spot of glue on a long wire fixes each line at the bowsprit, and a razor blade taped to a stick trims the ends.
Building one, stage by stage
- Choose the bottle first. Clear glass without embossing, with a flat-ish bottom side so the ship can lie at a natural angle. Measure the inner neck diameter; that number sets the width of your hull and furled rig.
- Draw the ship to fit. Scale a simple profile so the hull is a little narrower than the neck and the masts are a little shorter than the bottle's inner height.
- Carve the hull. Basswood or lime is ideal. Many builders carve only the part above the waterline, since the sea hides the rest. Wide hulls can be split lengthwise and joined inside.
- Make hinged masts. Drill the mast foot, fit a fine pin, and test the fold many times before rigging.
- Rig with long tails. Use fine thread or silk. Fix shrouds and backstays permanently; leave every forestay long enough to reach well outside the bottle.
- Make paper sails. Thin paper, tinted with weak tea or coffee, curved over a pencil to look full of wind.
- Lay the sea. Glazier's putty or a modelling compound tinted with oil paint, fed in on a long wire and shaped into swell. Let it skin slightly so the ship beds in without sinking.
- Insert and raise. Fold the masts, slide the ship in, press it into the sea, then pull the forestays steadily until the rig stands.
- Fix, trim, seal. Glue the lines at the bowsprit, cut the tails, add a cork with a Turk's head knot around the neck.
The homemade tool kit
Bottle builders make most of their tools. A coat-hanger wire flattened at one end becomes a putty spreader. A bent piece of piano wire places small parts. A razor glued to a bamboo skewer trims lines. A dental mirror lets you see the far side of the hull. Long reverse-action tweezers hold parts without your fingers tiring. Keep a pair of cotton gloves handy to stop fingerprints on the glass.
A note on patience
Your first bottle ship may lean, or a sail may tear on the neck. Build two at once from the same plan; by the time the second is finished you will know exactly what the first one taught you. Then pick a larger bottle and a more ambitious rig, like a three-masted barque. For the finishing knotwork, visit ropework and sailor art.